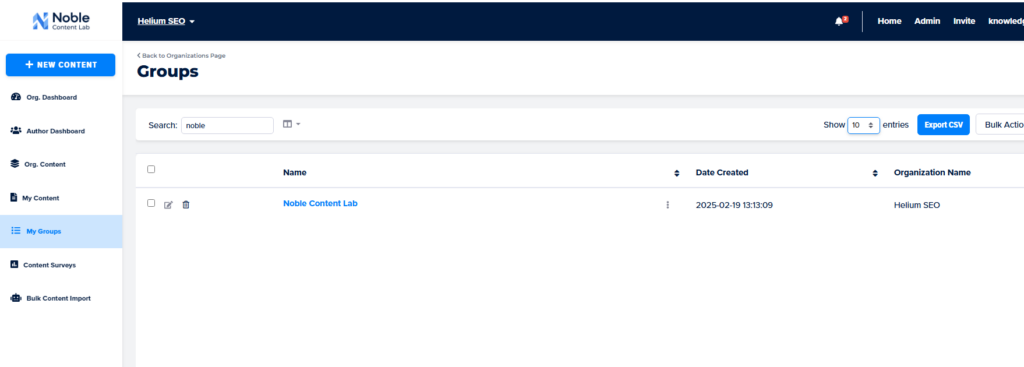
What Are Groups?
Groups help you organize content based on clients or content types in Noble Content Lab. Each group in Noble can have its own Writing Style Guide, which ensures consistent content generation according to defined styles. There’s no limit to how many groups you can create.
Viewing Groups and Their Content
Step 1: Access the Groups List
Click “My Groups” in the left navigation bar to see all groups in your organization.

Step 2: Browse Your Organization’s Groups
View the complete list of groups in a table format. Use available filters to locate specific groups.
Step 3: View Content Within a Group
- Find and click on your desired group’s name
- Browse all content displayed in cards or table format
- Apply filters as needed to find specific content
Creating a New Group
Note: This feature is only available for logged-in users.
Method 1: From the Groups List Page
- Navigate to Groups List: Click “My Groups” in the left navigation bar
- Access New Group Form: Click the “Create Group” button in the top right corner
- Complete the Form:
- Enter a name for your new group
- Add brand examples by pasting content into the Brand Example field and clicking “generate” (this will automatically populate the Writing Style Guide), or fill out the Writing Style Guide manually
- Click submit

Method 2: From the Content Editor
- Open Content Editor: Navigate to the editor of your content
- Access Details Tab: Select the details tab on the left card
- Add New Group: Click the plus icon next to the Group dropdown
- Complete the Form:
- Enter a name for your new group
- Add brand examples by pasting content into the Brand Example field and clicking “generate” (this will automatically populate the Writing Style Guide), or fill out the Writing Style Guide manually
- Click submit

Writing Style Guide (Optional)
This section allows you to automatically generate a style guide based on brand examples or create one manually.
Analyze Brand Example(s)
You can analyze existing brand content to create a consistent style guide by:
- Adding content from:
- Home page content
- About page content
- Example blog posts
- Simply paste one or all of the recommended content into the large text field provided.
- Click the blue “GENERATE” button at the bottom of the section.
- Noble will then analyze the provided examples and automatically populate the style guide fields below.
This feature saves time by identifying your brand’s existing tone, style, and writing patterns, ensuring all future content created within this group maintains a consistent brand voice.
If you already have style guide information prepared, you can skip the generation step and manually complete the fields in the next section.
