An organization can have as many users as allowed by the selected plan. You can view your plan information at the bottom left corner of Noble, where the number of current users and the total allowed will be labeled as “Members.” If you need additional member slots, you can update your plan through the “Manage Billing” option or by contacting our sales team.
IMPORTANT: Only Organization Administrators can invite new users.
Step 1: Access the Invite Form
Option 1: From The Top Navigation Bar:
Click the “Invite” link in the top-right corner of the navigation bar.

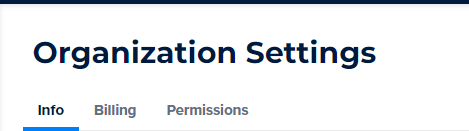
Option 2: Through Organization Settings:
- Go to the Organization Dashboard.
- Click the gear icon (⚙️) in the top-right corner next to the “Create Group” button.
- Select the “Permissions” tab.
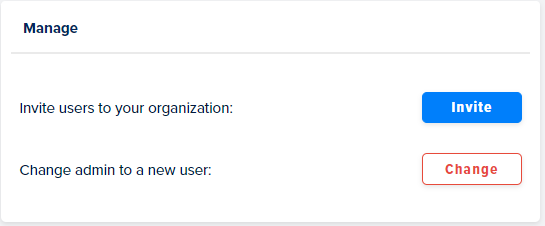
- Click the “Invite” button on the Manage card on the right side.

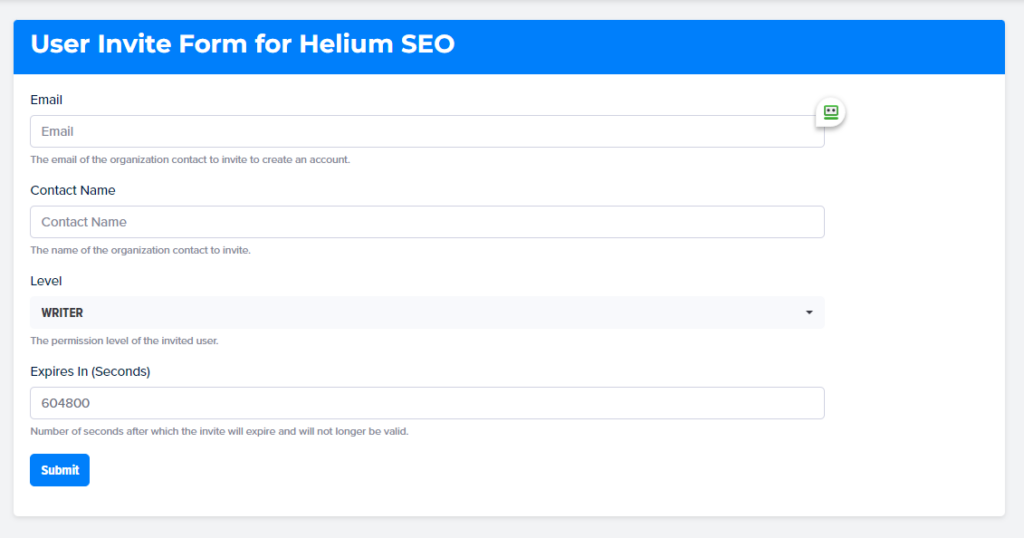
Step 2: Complete the Invitation Details
- Enter the new user’s email address
- Enter the new user’s full name
- Select the appropriate permission level
- Set an expiration time if needed (the default is usually sufficient)
- Click “Submit” to send the invitation
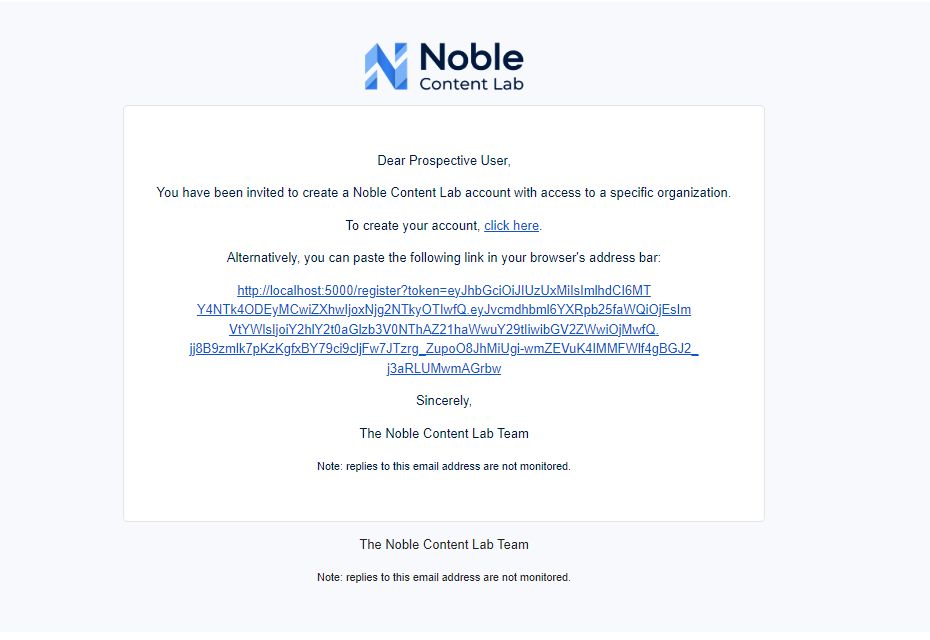
Step 3: New User Registration
The new user should receive an email.
Note: If the new user does not see the invite in their standard email folder, they should check their spam inbox.
Step 4: Accepting the Invitation
Click the link in the email to create the new user’s account.
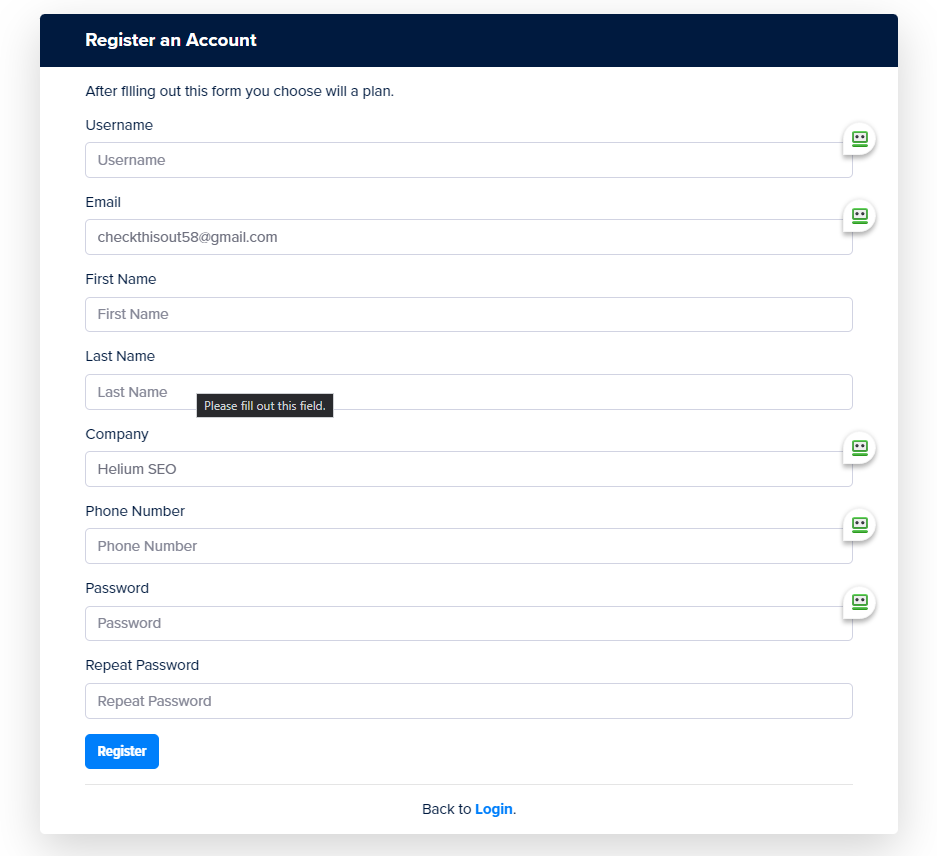
Step 5: Fill Out The Form to Register a new Account
The new user will need to fill out all the required fields in the account registered form.
Step 6: Submit The Form And Login
After submitting the form, their account will be created and ready for immediate login.
The new user will now have access to your organization with the permission level you assigned during the invitation process.